Blog posts are one of the best ways to build a relationship with your readers. A reader’s attention span is short, so you need to make your post interesting enough for them to read. One way to do this is by including images that illustrate your points.
Bloggers struggle with finding the right images to use in their posts, which is something that all content creators face. But with some simple tips and tricks like these, you'll be able to find the right image that enhances your blog post, whether it's a food post or one about lifestyle.
In this article, we'll share eight top tips for using images in your blog posts, so that you can get the most out of them. From choosing the right size and format to using alt text and annotations, we'll cover everything you need to know to take your blog posts to the next level.
1. Orginal High-Quality infographics
When it comes to adding images to your blog posts, quality is important. People are more likely to engage with an infographic that is clear and easy to read. If you're using someone else's infographic, make sure you have permission from the creator. And, be sure to include a link back to the original source.
- High-Quality Images
It is also important to use high-quality images in your blog posts. Blurry or low-resolution images will not only look bad, but they will also make your blog look unprofessional. Spend some time looking for high-quality images that will complement your blog post and make it look its best.
Originality is also key. Your readers will appreciate seeing something new and interesting. If you can create your own infographics, even better! This will help you stand out from other bloggers in your niche.
High-quality infographics can be a great way to add visual interest to your blog posts. Just be sure to use original, high-quality images to get the most engagement from your readers.
2. Have A Reason To Add An Infographic
It's easy to get caught up in the idea of adding an infographic to your blog post just because you think it will look good. But if you want people to actually share and Engage with your infographic, you need to make sure it's serving a purpose.
The best infographics are the ones that are able to take complex topics and distill them down into something that's easy for people to understand. So before you add an infographic to your blog post, ask yourself if it's actually going to help your readers understand the topic better.
- Make Sure The Info Is Accurate
This should go without saying, but it's important to make sure the information in your infographic is accurate. Nothing will turn people off more than finding out that the information they thought was correct was actually wrong. If you're going to include data or statistics in your infographic, make sure you double-check your sources. And if you're including any sort of call-to-action, make sure it's accurate and leads people to where they need to go.
3. Use The Right File Type
If you want your images to look sharp and clear on your blog, it's important to use the right file type. The three most common file types for images are JPEG, GIF, and PNG. JPEGs are best for photos, while PNGs are better for images with text or line art. When in doubt, save your image as a JPEG.
- Optimize Your Images
It's also important to optimize your images before you upload them to your blog. This means reducing the file size of the image without reducing the quality. There are a few ways to do this:
- Use an online tool like tinypng.com or compressjpeg.com.
- Save your images in a lower resolution (72 dpi is usually sufficient for web).
- Crop or resize your images so they're not too large.
Tip
A lot of people think that using the WebP format means that your images are smaller in size. This means you can use them without it having a negative impact on your website's loading times.
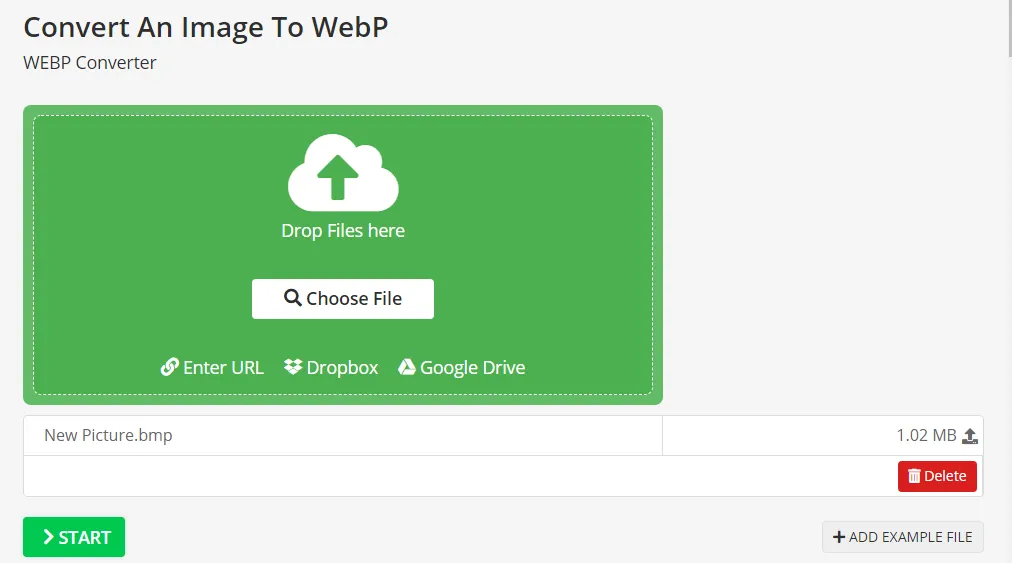
WebP is a new image format that provides better quality images than jpeg. WebP can save up to 50% of the file size as compared to jpeg. The images are compressed and optimized using a lossless format, so there is no quality loss to users. Image quality can be maintained at the same level as compared to jpeg.
Now the thing is, you guys will think about how we can change the format of any picture, so many tools are used for that. To change the format of a picture, you have to type in any browser. Jpeg to WebP. PNG to WebP
I am not advising you to use any tool, you can use any tool to change the format of the image.
4. Image File Size Matters
Image file size matters when you're using images in your blog posts. If an image is too large, it will take too long to load and could slow down your website. On the other hand, if an image is too small, it will look pixelated and of low quality. Try to find a balance between file size and image quality.
- Image Placement
When placing images in your blog post, be sure to put them in places where they will be most effective. For example, if you are writing a tutorial, you will want to place images next to the instructions so that readers can easily see what they need to do. Likewise, if you are writing a review, you may want to place an image of the product at the top of the review so that readers know what they are reading about.
5. Make Your Image Alt Text SEO-Friendly
If you want your images to be found by search engines, make sure to include keywords in the alt text. This will help your images show up in image search results. In addition to helping with SEO, well-chosen alt text can also help to explain the context of an image to readers who are unable to see it.
- When writing your alt text, keep it short and to the point. Don't stuff it with keywords. Just include a few relevant keywords that accurately describe the image.
- Always use relevant images. Don't just add images for the sake of adding them. Make sure they add something to the post and help illustrate your point.
- Use alt text for your images. This is important for SEO and also for people who are using screen readers. Alt-text is a brief description of an image that is displayed if the image can't be loaded for some reason.
- Make sure your images are copyright-free. You don't want to get in trouble for using someone else's copyrighted material. There are many free stock photo websites that you can use to find high-quality images for your blog posts.
6. Descriptive Captions
When adding images to your blog posts, be sure to include descriptive captions. These captions should explain what is happening in the image and why it is relevant to the blog post. A good caption can make or break an image, so be sure to take the time to write a good one.
Adding a caption to your images is a great way to give readers more information about what they’re looking at. A caption can also be a great opportunity to add some extra keywords to your post, which can help with search engine optimization. Make sure that your captions are clear and concise, and add value to the image.
7. Use The Lazy Loading Technique
If you're not familiar with the term "lazy loading," it simply refers to the process of loading images only when they're needed. In other words, when a user visits a page on your blog, the images on that page won't be loaded until the user scrolls down to them. This can save a lot of time, especially if your blog pages are long and have many images.
To use lazy loading on your blog, you'll need to add a few lines of code to your site. If you're using WordPress, there are several plugins that can help you with this. Once you've installed and activated a lazy load plugin, then you don't have to do anything. Now the WordPress plugin will do the job.
If you're not using WordPress, you can still use lazy loading by adding the following JavaScript code to your blog:
- Paste the JavaScript code just above the </body> tag and save it.
8. Review Your Image Search Performance
Review your image search performance before you start using images in your blog posts, it’s a good idea to take a look at how your image search results have been performing. This will give you an idea of what kinds of images are popular with your audience and which ones are not.
To view the search performance of your images on the blog, you need to open the “Google Search Console” and select the image from there, and then you need to evaluate which devices have the most impressions on your images. And how many people have clicked on these pictures? And you can also see those images so that you can create similarly stunning images for the blogger. As shown in the picture.
Conclusion
We hope you enjoyed these tips on using images in your blog posts. Remember, adding images to your blog posts can help make them more visually appealing and can also help break up large chunks of text. However, it’s important to use images wisely and not overload your readers with too many pictures. Use the tips above to choose the right images for your next blog post and happy blogging!
- If you have any other questions or concerns about images or blog posts, please contact us anytime on Twitter. Thank you for reading, we are always excited when one of our posts is able to provide useful information on a topic like this!


0 Comments
⚠️ Please don't spam here. Admin always reviews all comments.